

Creating an Account
Registration flow
Section titled “Registration flow”-
Go to zandovi.com and click Sign up (or navigate to
/register). -
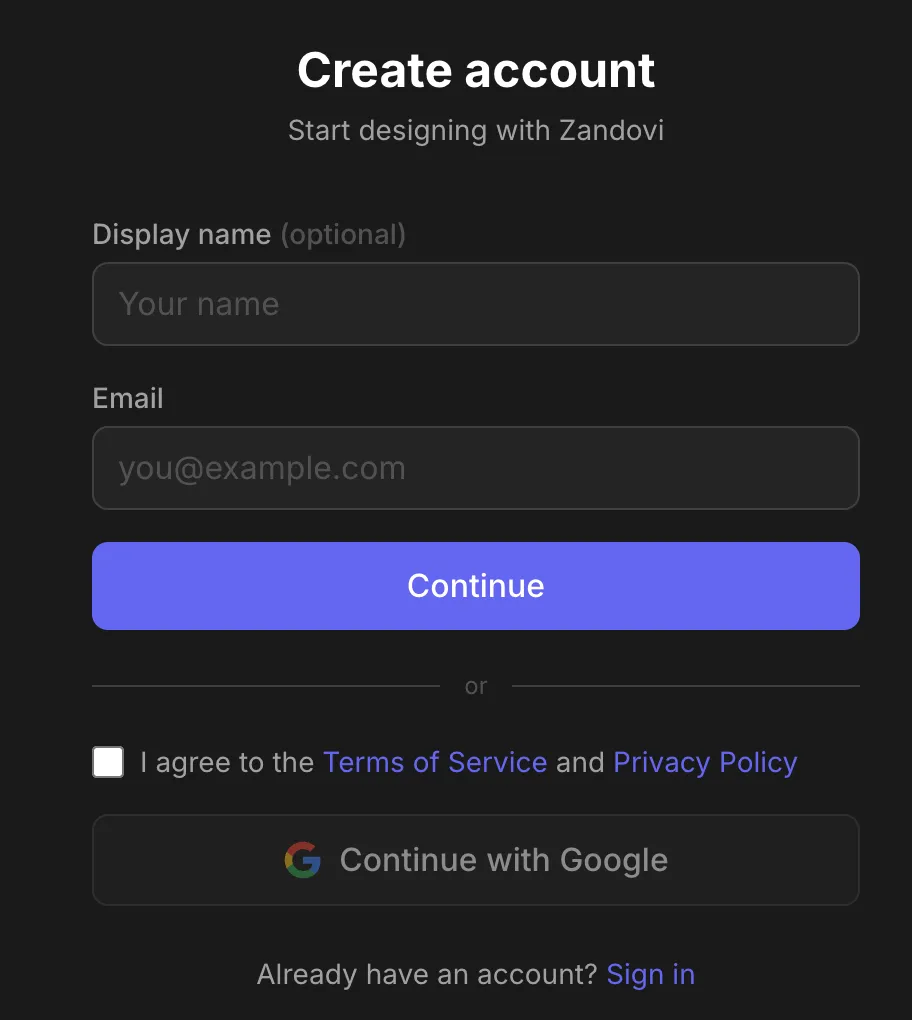
Step 1 — Enter your details.
- Display name (optional) — how your name appears to teammates.
- Email (required).
Click Continue (or agree to the terms and use Continue with Google right here to skip the email step).
-
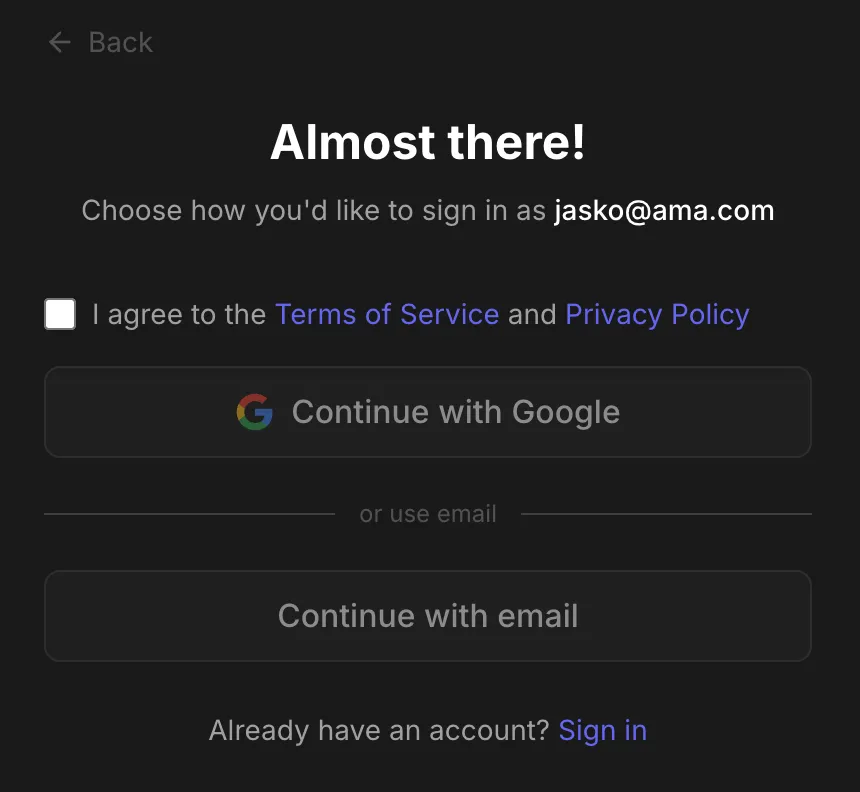
Step 2 — Choose your sign-in method. On the “Almost there!” screen, first tick the box to agree to the Terms of Service and Privacy Policy (required), then choose:
- Continue with Google — links your Google account; no password needed.
- Continue with email — sends a magic sign-in link to your email.
-
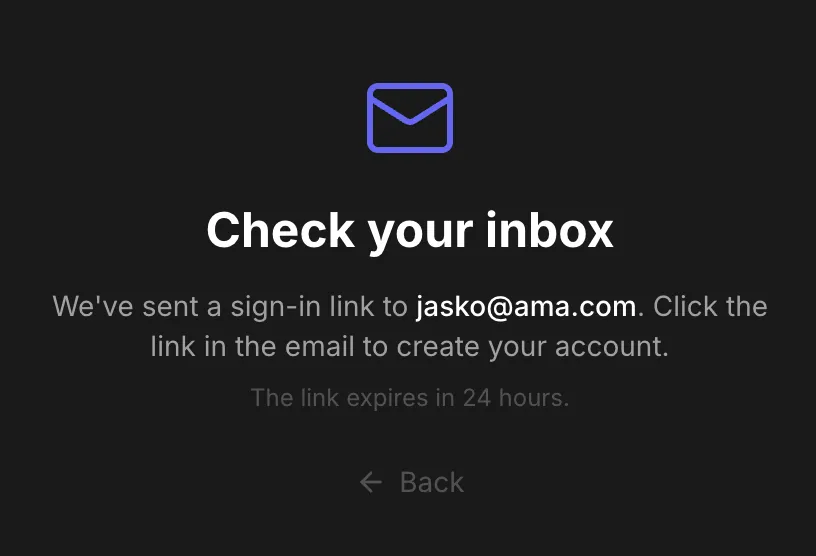
Step 3 — Check your inbox. If you chose email, you’ll see the Check your inbox confirmation. The sign-in link expires in 24 hours.
-
Click the link in the email.
- In the same browser you signed up in: you’ll briefly see a “Signing you in…” screen, then land in the app.
- On another device or browser: a Confirm your email page opens. Click Create my account to finish.
If the link is expired or invalid, you’ll see “Sign-in failed” with a prompt to request a new one.
Your first stop in the app is a one-question screen: “What are you making?” Pick Coupons & gift cards, Certificates & badges, Tickets & event assets, I’m integrating the API, or Just exploring to skip. Your answer seeds a sample project — My first project, holding one variable-ready template matched to what you picked — and that template opens directly on the canvas, where a six-step guided tour starts. Choosing I’m integrating the API seeds the same way but opens the in-app API quickstart page instead of the canvas. Quick Start walks through the whole thing.
Joining a team
Section titled “Joining a team”There’s no invite-code field to fill in. If a colleague invited you to a team, you’ll receive an invite link by email — open that link to start registration with your team context already applied (a “You’ve been invited to join a team” banner appears, and your email is pre-filled). After signing in you’re taken to the invitation-accept page. See Inviting Members & Roles.
Choosing a plan
Section titled “Choosing a plan”New accounts start on the Free plan right away — there is no plan-selection step during sign-up, so you go straight to the intent question and your seeded sample project. To pick a paid plan, open Plans from the app. See Choosing a Plan.
Already have an account?
Section titled “Already have an account?”Go to Signing In.