

Creating & Organizing Projects
Creating a project
Section titled “Creating a project”- Click the Open Project icon in the left sidebar rail (folder icon, tooltip: “Open Project”).
- Click New Project at the top of the picker.
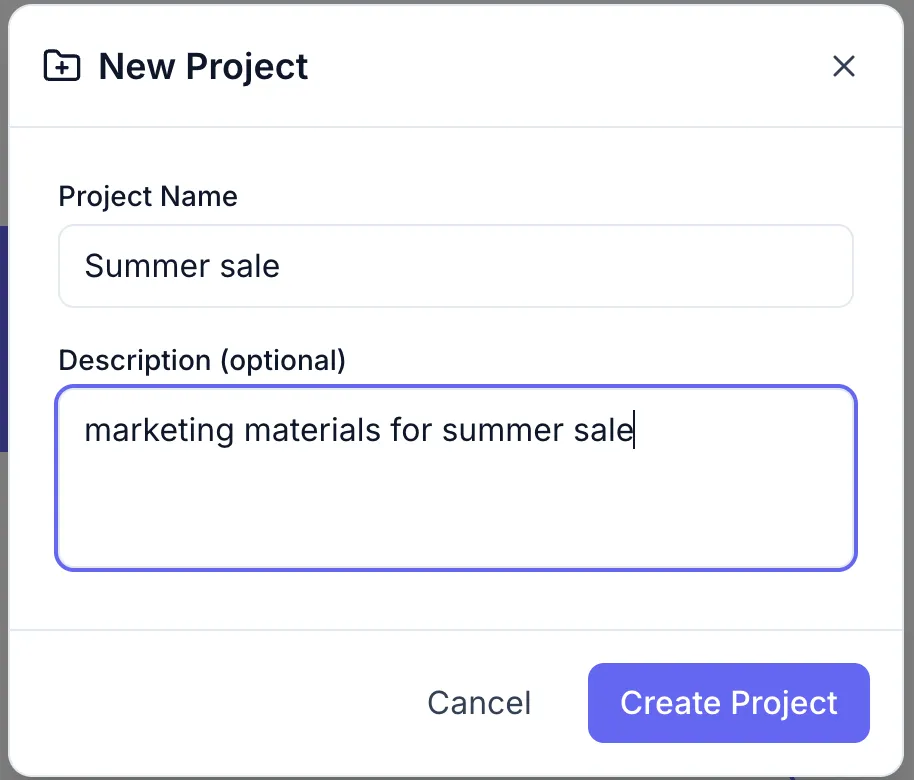
- In the New Project dialog, enter a Project Name (required) and an optional Description.
- Click Create Project.
The project opens immediately in the Designer and you can start adding canvases.
Renaming a project
Section titled “Renaming a project”You can rename a project in two places:
From the Project Picker: Hover over a project row and click the pencil icon. The name becomes an editable field — press Enter or click away to save, Esc to cancel.
From the header: When a project is open, double-click the project name in the header breadcrumb (tooltip: “Double-click to rename project”). An inline field appears — press Enter to save.
Deleting a project
Section titled “Deleting a project”- Hover over the project in the Project Picker and click the trash icon.
- A confirmation dialog asks you to confirm. The project name is shown — confirm to permanently delete it.
Project limits
Section titled “Project limits”On the Free plan the number of projects may be limited. If the New Project button is disabled you’ve reached the limit — upgrade your plan or delete an existing project. See Choosing a Plan.