

Sharing Projects
Projects are Private by default — only you can see them. In a team workspace you can share a project you created so all workspace members can view its templates. Only you, as the creator, can edit or delete them.
Sharing a project
Section titled “Sharing a project”- Hover over the project in the Project Picker and click the people icon (tooltip: “Share with team”).
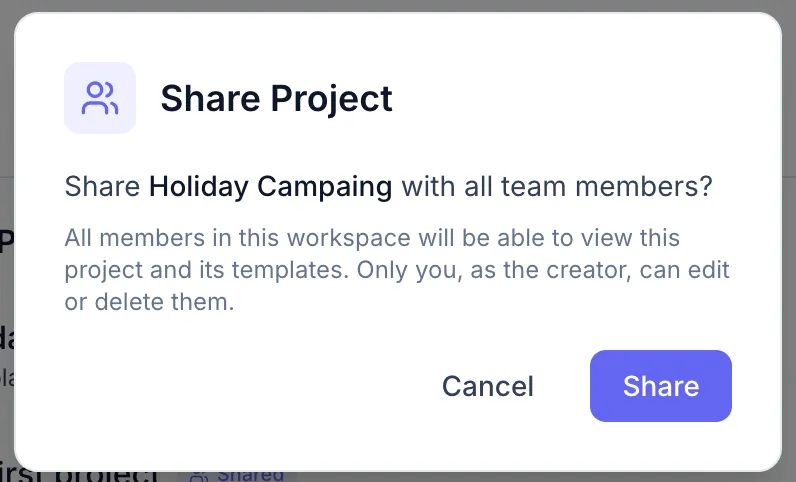
- The Share Project dialog explains what sharing means: “All members in this workspace will be able to view this project and its templates. Only you, as the creator, can edit or delete them.”
- Click Share.
The project now shows a Shared badge, its icon changes to a lock (“Make private”), and it’s visible to all workspace members.
Making a project private again
Section titled “Making a project private again”Click the lock icon (“Make private”) on a shared project. The Make Private dialog warns that team members will lose access to the project and its templates; click Make Private to confirm.
What teammates can do with shared projects
Section titled “What teammates can do with shared projects”Workspace members who open a shared project can:
- View all templates in the project. They open read-only: the header shows Read only and a banner reads “This template is shared with you. You can generate images but cannot edit it.”
- Generate images from them.
- Not edit, rename or delete them, or add templates to the project — only the creator can.
- Use a shared template as a starting point via Use this template (see Reusing & Copying Templates).