

Images
Adding an image
Section titled “Adding an image”There are three ways to get an image onto the canvas:
1. Your uploads (My Images)
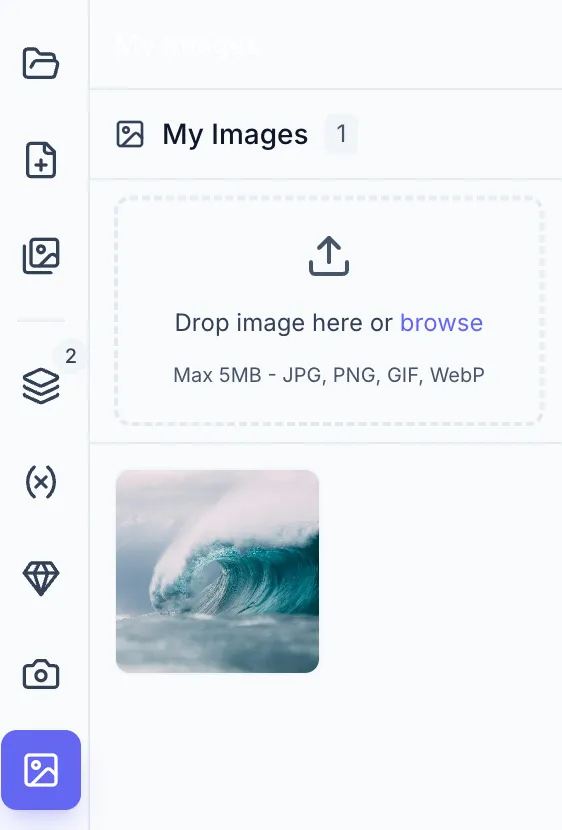
Section titled “1. Your uploads (My Images)”Click Images in the left sidebar rail (image icon) and choose the My Images tab at the top of the panel (it is selected by default) to open your uploads library. Drag an image file into the panel — or click the upload area to pick one — to add it to your library, then click its thumbnail to place it on the canvas. Uploaded images stay in the library for reuse across templates.
Supported formats: PNG, JPEG, GIF, WebP · Max size: 5 MB per image.
Each thumbnail has a ⋯ menu (shown on hover or keyboard focus, and always on touch devices) with:
- Add to canvas: the same as clicking the thumbnail.
- Copy image reference: copies
zandovi://images/{id}, which you can use as an image variable value in a CSV row or an API call. - Share with team / Make private: changes who in the workspace can see and use the image.
- Delete…: removes the image after you confirm. CSV rows and API calls that use its reference stop working.
Only the person who uploaded an image can change its visibility or delete it; teammates see just Add to canvas and Copy image reference on shared images.
Uploads are private by default and show a Private badge in the thumbnail’s top-left corner. A private image’s reference works only with your own API keys; share it with your team before teammates’ keys or integrations use it.
My Images also holds the stock photos you saved from the Stock tab (see below). A saved photo is named provider-photographer-id, for example unsplash-kate-ross-AbC123.jpg, so the name keeps the credit.
2. Stock images
Section titled “2. Stock images”The Images panel (image icon in the left sidebar rail) has two tabs, My Images and Stock. Pick the Stock tab to search stock photos.
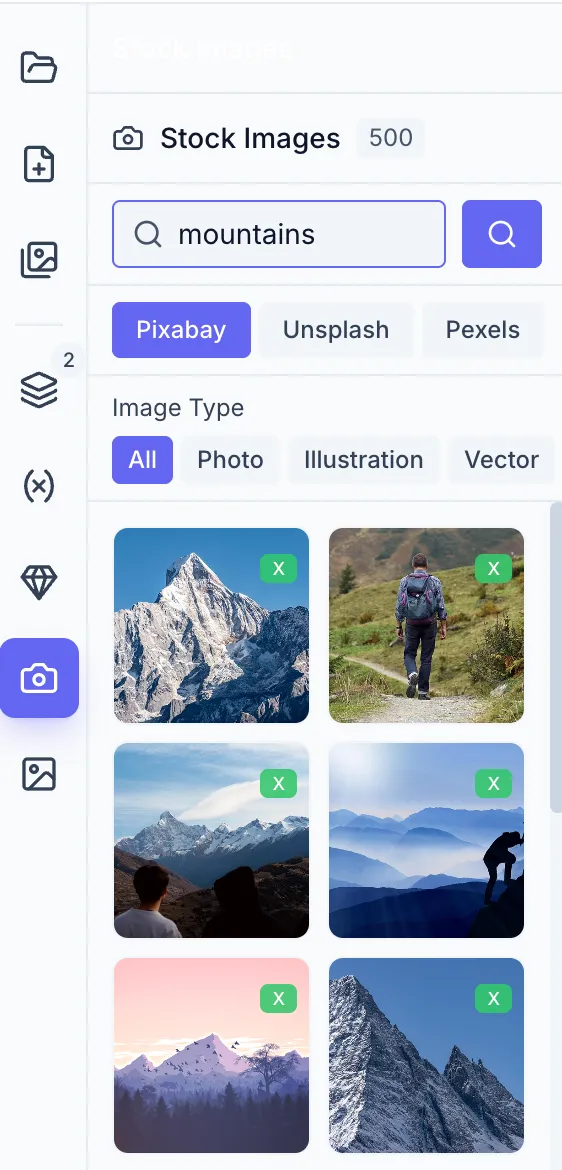
- Type a search term (at least 2 characters) and press
Enter. - Select a provider tab: Unsplash, Pexels or Pixabay (tabs appear when more than one provider is available).
- (Pixabay only) Filter by image type: All / Photo / Illustration / Vector.
- Scroll through results; more load automatically as you reach the bottom.
- Click a thumbnail to add the image to the canvas. Hover a thumbnail to see the photographer credit.
The first time you add or save a stock photo, a Stock image licenses dialog asks you to confirm that you’ll use the photos under the Unsplash, Pexels and Pixabay license terms. Tick the box and click Agree and continue; your account only needs to do this once.
To keep a photo for later without placing it, hover it and press the bookmark in its top-left corner, or open its ⋯ menu and choose Save to My Images. The photo goes to My Images, where it is private until you share it with your team. A filled bookmark labelled Saved means you already saved this photo yourself. A teammate’s shared copy does not count, and saving gives you your own private copy; for a saved photo, the ⋯ menu also offers Copy image reference. On touch devices the bookmark and the ⋯ menu are always visible.
3. Image Variable (placeholder)
Section titled “3. Image Variable (placeholder)”Click the Image Variable tool in the toolbar (image-plus icon), or press I. It drops an empty 200 × 200 placeholder at the center of the canvas, bound to an auto-named variable (e.g. image_1); the actual image is supplied at render time through that variable. See Creating a Variable.
Image properties
Section titled “Image properties”Select an image. The Appearance section of the Properties panel shows:
| Property | Description |
|---|---|
| Radius | Rounds the corners of the image, in px |
| Fit Mode | How the picture fills the image box: Cover, Contain, or Fill |
The Position & Size section handles position, size, rotation, and flip.
Every image has a Fit Mode, not just image variables:
- Cover fills the whole box and crops whatever overflows, keeping the picture’s proportions. New images added from My Images or Stock, and new image variable placeholders, start on Cover.
- Contain shows the whole picture at its original proportions and leaves the rest of the box empty.
- Fill stretches the picture to the box, which distorts it if the proportions differ.
An image that doesn’t set a fit mode (for example one created through the API) is shown and rendered as Fill.
For an image variable (placeholder), the Variable section also has a Default URL (fallback image) used when no value is provided. Leave the Default URL empty to fall back to the image placed on the canvas; the variable is required only when it has neither a Default URL nor a canvas image. Turning Use as variable on or off doesn’t change the Fit Mode. See Variable Settings.
Changing an image
Section titled “Changing an image”There’s no in-place replace: to swap a placed image, delete the element and add the new one from My Images or Stock. For an image variable, you don’t edit the element — supply a different image value at render time (via the Generate dialog, a CSV, or the API).